How do you make a tubular object?
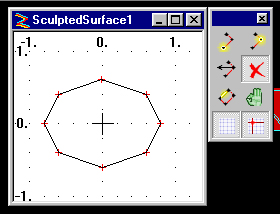
First, find and click the Sculpted Surface icon.

Then digitize a number of points in a circular fashion.
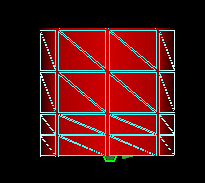
Then when you hit OK Flux Studio makes a second surface and the "walls" that join
up the sides.
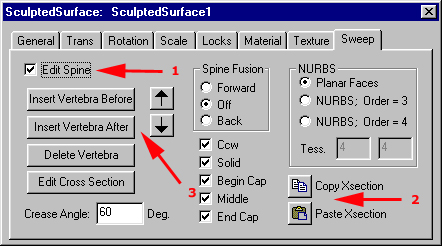
In this image, I have hit the edit spine checkbox [1], then the Insert Vertebra After
[3] button. This adds several layers. If the first layer is not an exact copy of the
second you can use the cut & paste buttons [2] to copy one layer, move to the next
layer, and paste the same outline.
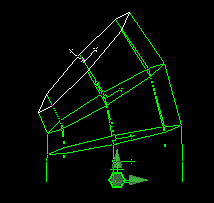
Then using the arrow buttons (either in the properties panel or at the top of the
screen) you can switch to the other layers and rotate each of them slightly. If you use
the Spine Fusion option, when you move one layer, the next will also move the same amount.
Lastly, if you select the NURBS button, you will get a very smooth, mathematically
defined surface.
HINT: You can also scale the various cross sections to make the shape more interesting.
